Create a Scalable Naming System
How to tackle the problem of naming in high-volume environments
Introduction
If you've ever created a project with or you might have noticed every new project gets a unique, randomly-generated name. This is an effective way to avoid naming collisions, with the added benefit of being able to easily track your projects. Let's look at how to create a scalable naming system like these, and how to put it to use in a few different ways.
Getting started
The first thing we need to do is initialize our application. To do this quickly, lets run npm init -y in our project directory. This will create a generic package.json file for us, and we can edit it to our liking later.
Setting up the file structure
When creating an application intended to scale, modularity is key. Organization is also important as other developers could eventually be working on your projects. Our file structure will look something like this:
Our word lists
I've created some pretty lengthy lists of adverbs and nouns for you to use. You can find them , or create your own lists if you'd like.
Make use of the lists
We need to update our application to import our lists, update the following code:
src/index.js
Now that they're imported, we can use them in our application. For now, lets just see how many words we have in each list. Add the following code:
src/index.js
If you used my lists, you should see something like this:
Randomize all the things
For the purposes of this application, random is a good thing, each element of our name should be random and unique. To return a random element from our list, we can use the following function expression:
src/index.js
We also need to create a random number, for now we'll stick with a 4 digit number. To do this, we can use the following function expression:
src/index.js
Putting it all together
We need to create a function that will get a random word from each of our lists, and add a number to the end. First, we'll add the following:
src/index.js
If we've done everything correctly, we should be able to call our function and get a random name. To test this, we can run our application in our terminal:
and we should see something like this printed out:
Voila! We've got a random name! Now we just need to make sure our application prevents collisions, if not, we could end up with the same name multiple times.
Keeping track of it
This is the most basic way to use our application, but we're not tracking what we've already used, so we'll need to add some logic to make sure we don't get the same name twice. For this, we'll need a datastore that is as scalable as our application. In this case, we'll use , a very popular and scalable database, and , a Node.js wrapper for Redis.
We'll need to initialize the redis client, to do so add the following code:
src/index.js
And then add a function which will check if a redis key with the value of our name exists. If it does, we'll need to generate a new name. Once a unique name is generated, we need to return the name. To do this, we'll need to add the following code:
src/index.js
if you've been following to this point, your src/index.js file should look something like this:
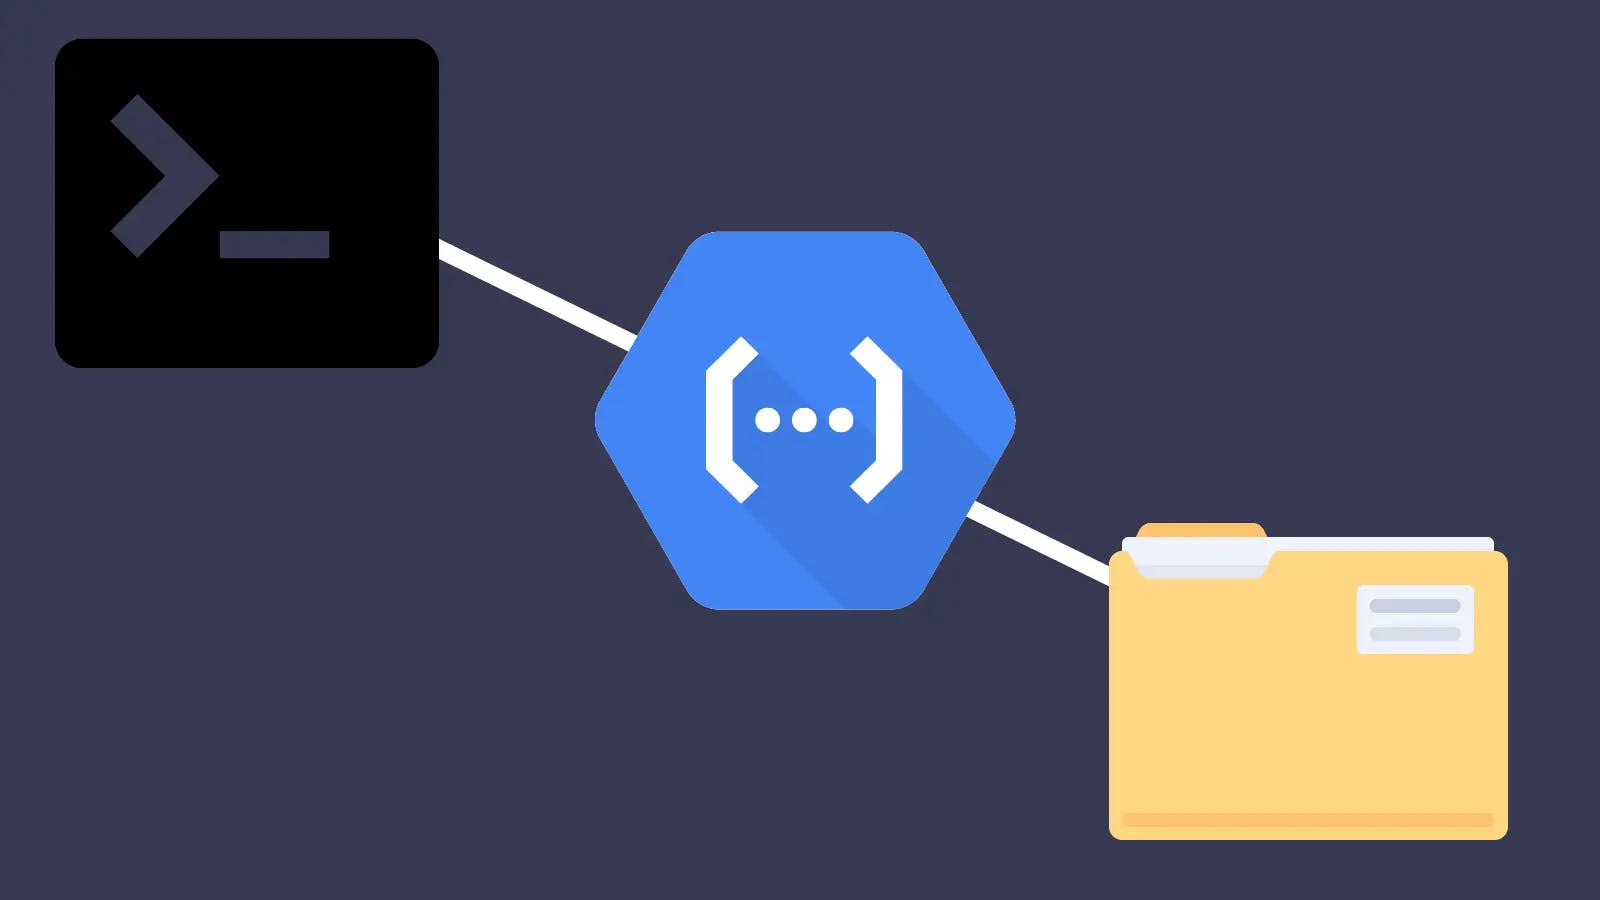
Deploying as a serverless function
In this case, we're going to use the command line tool to deploy our application as a serverless function to . To accomplish this, we'll need to wrap our application in an asynchronous function expression. Update the following code:
src/index.js
This change allows our function to be used as a serverless function which can be utilized by a variety of mediums. Run the following command in your terminal to authenticate with gcloud and deploy the function:
NOTE You'll need to have a project created in Google Cloud before you can deploy your function. You'll also need the Cloud Build API enabled in your project.
This process will take a few minutes to complete, and once complete, there will be a great deal of information printed out to the console. We can see that our function is deployed and we can see the URL of the function. This URL can be used to call our function from a client, or directly from the browser for testing.
Putting it to use
In this case, we'll use the function to name projects locally utilizing a script, knowing we can reuse the same endpoint in later applications. In a new directory, create a file called new-project.sh and add the following code:
new-project.sh
To test our bash script, we can run the following command in our terminal:
If all goes well, we should see a new directory created with a random name from our function, and we should be in that directory ready to start working on our project. The last thing we need to do is create an alias for our bash script. To do this, we'll need to add the following code to our .bashrc file:
.bashrc
This will enable us to call our bash script from the command line, no matter which directory we're in. To test our new alias, we can run the following command in our terminal:
Which should now output something like this:
Conclusion and next steps
This serverless function can go on to be used in numerous applications with ease, and solves a very real problem with minimal effort. Stay tuned for more on this topic and others in the future!